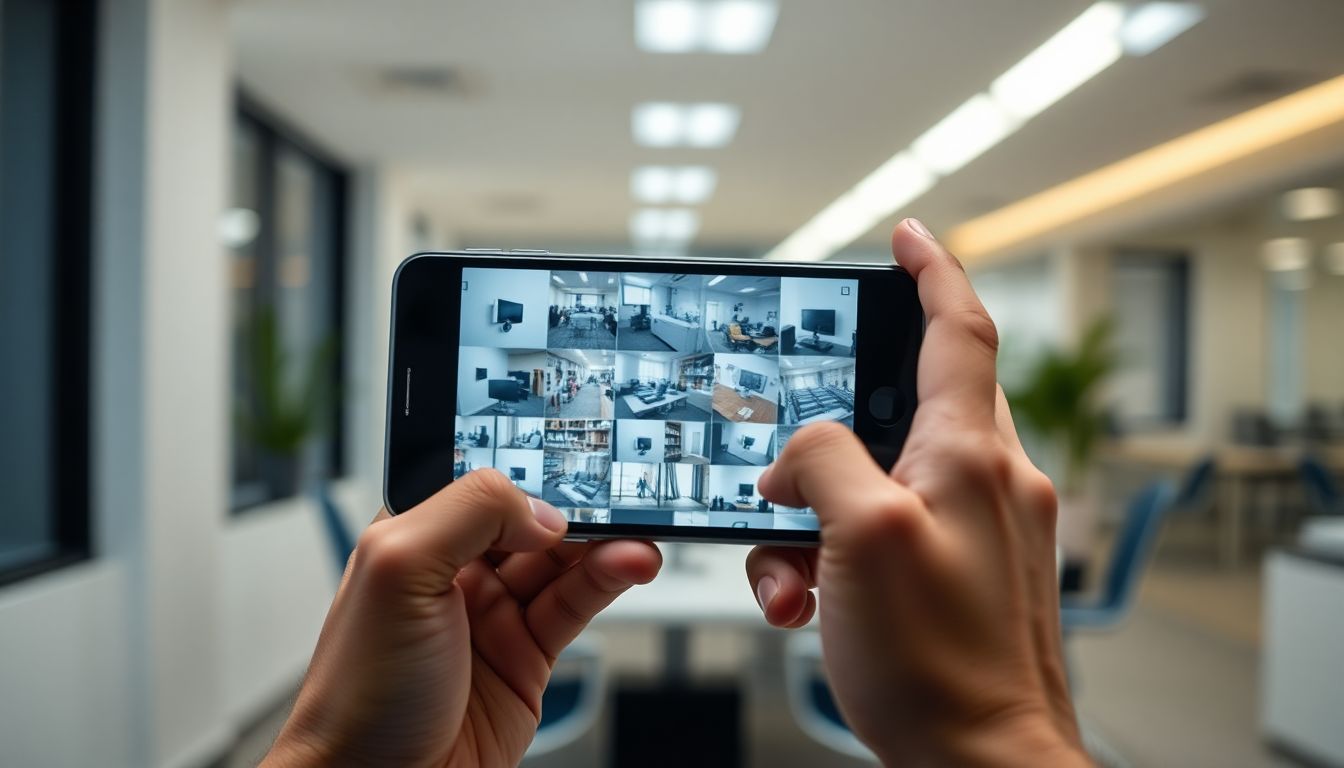
One of the most practical features of a modern commercial camera system is remote access — the ability to pull up any camera or review footage from a phone or laptop, regardless of where you are. Whether you're checking on your second location, reviewing what happened during last night's shift, or responding to an alarm notification, remote viewing is now a standard expectation for any commercial system installed in the last several years.
Here's how it actually works, which approach is most secure, and how to use it effectively.
Three Ways Remote Access Works
NVR-based direct access (port forwarding). The traditional approach: your NVR is assigned a static IP address on your network, a specific port is opened on your router and forwarded to the NVR, and you access it directly via the NVR's IP address and port from any network. This works, but it comes with a meaningful security risk — you've opened a port to the public internet, which makes your NVR discoverable and potentially vulnerable to brute-force login attempts and firmware exploits. If your NVR's firmware isn't kept current, a publicly exposed NVR is a real attack surface.
Cloud relay (P2P). Most commercial NVR manufacturers now offer a cloud relay service — the NVR establishes an outbound connection to the manufacturer's cloud servers, and your mobile app connects to that cloud service rather than directly to your NVR. No port forwarding required, no public IP exposure. Your NVR's serial number or a QR code ties your device to your account. This is the most common setup for commercial installations today and is substantially simpler and more secure than port forwarding for most users.
VPN-based access. For businesses with an IT department or a managed IT provider, a VPN (virtual private network) is the most secure remote access approach. You connect your phone or laptop to the business VPN, which puts you on the same network as the NVR, and access it as if you were on-site. No cloud intermediary, no exposed ports. The tradeoff is setup complexity — a VPN requires a router that supports VPN server functionality and some technical configuration. For multi-location businesses with IT support, this is the recommended approach.
The Mobile App Setup
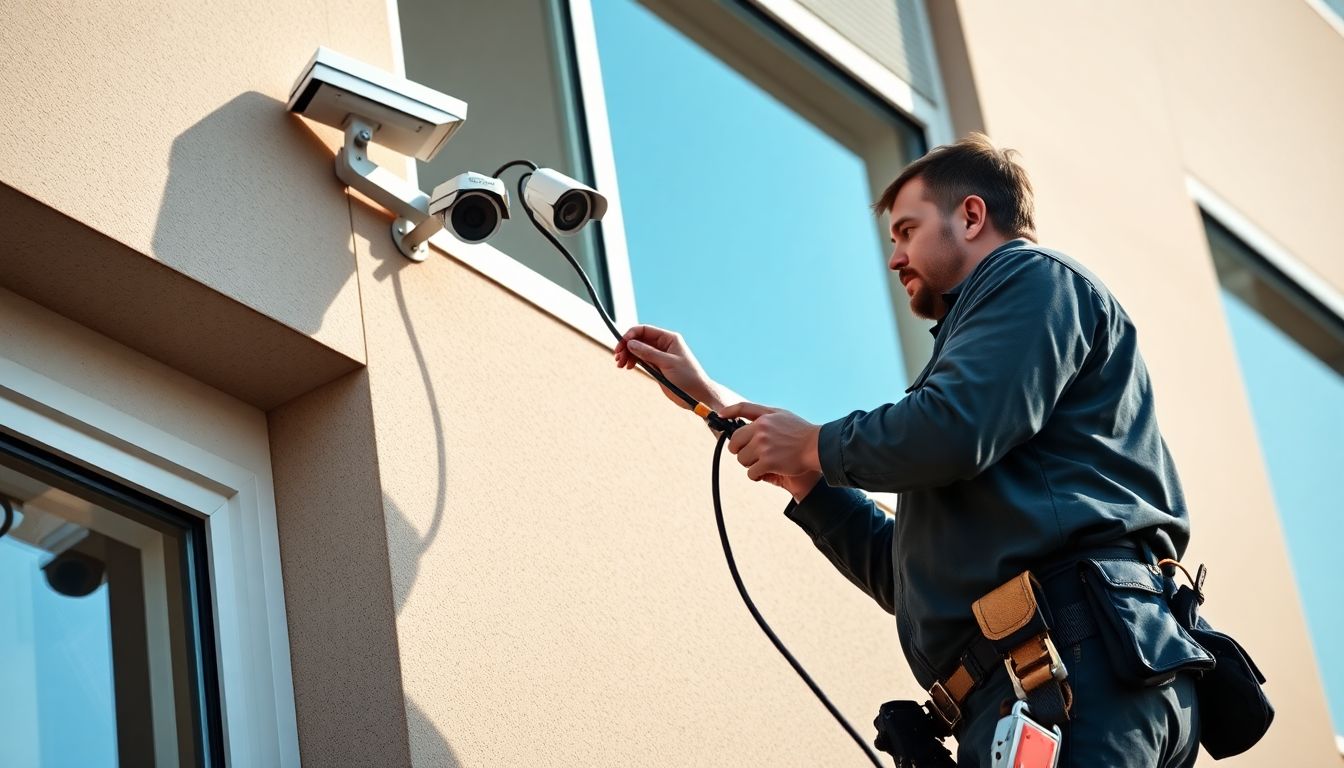
Your installer should handle the initial app configuration — this is part of a proper commercial installation. Here's what that process involves, so you know what to expect and can verify it was done correctly.
The installer logs into your NVR's admin interface and either:
- Enables the P2P/cloud relay service (usually found under network settings) and pairs the device to the manufacturer's cloud account
- Configures VPN access if that's the chosen approach
They then install the manufacturer's mobile app on your phone (or the preferred phone for your account), scan the NVR's QR code or enter the serial number, set your login credentials, and verify that live view and playback are working from outside the local network (usually by disabling WiFi on the phone and confirming 4G access works).
From your end, you open the app, log in, and see your cameras. That's it. If this wasn't done during your installation, contact your installer — it should be included in the installation scope.
Why Port Forwarding Is Risky
Security researchers regularly scan the public internet for open ports associated with NVR and camera systems. When they find one, they attempt default credentials (admin/admin, admin/12345, and several hundred other common combinations) and known firmware exploits. Many commercial camera systems have shipped with serious vulnerabilities in their remote access implementations — there have been multiple incidents of publicly exposed NVR systems being hijacked, used as nodes in botnets, or having footage accessed by unauthorized parties.
If your system is currently using port forwarding, change to cloud relay or VPN access at your next opportunity. If your installer configured port forwarding as the remote access method, ask them to switch you to P2P cloud relay. This is typically a 30-minute configuration change.
Multi-Location Management
Businesses with multiple locations can add all locations to the same mobile app account. Each location's NVR appears as a separate device in the app — you switch between them by selecting the location. This works with both cloud relay and VPN access (though VPN requires separate VPN connections for each location's network).
For operations managers or owners overseeing multiple properties, this consolidation into a single app is one of the most practical aspects of a well-configured camera system. You can check any location's cameras from the same place without juggling multiple apps or logins.
Common Problems and Fixes
Camera not showing in the app. Usually one of three issues: the NVR has lost its internet connection (check that the NVR's network cable is connected and the router is online), the P2P service has been disabled in the NVR settings (log into the NVR locally and re-enable it), or the manufacturer's cloud service is experiencing an outage (check the manufacturer's status page). If the camera shows offline in the app but was working yesterday, start with the NVR's internet connection.
Slow or choppy remote feed. Remote video streaming is bandwidth-limited by both the upload speed at the camera site and the download speed at your location. Most NVR systems allow you to set a sub-stream for remote viewing — a lower-resolution, lower-bitrate stream that uses less bandwidth than the full-resolution main stream. Your installer should have configured sub-stream settings; if remote viewing is consistently slow, ask them to reduce the sub-stream bitrate.
App shows live view but won't play back footage. Playback requires a connection stable enough to stream recorded footage from the NVR's hard drive, which uses more bandwidth than a live stream and may time out on slow connections. If live view works but playback doesn't, try reducing playback quality in the app settings or access footage from a location with faster internet.
How to Pull Footage for a Specific Shift in Under 60 Seconds
- Open the app and select the location and camera you want to review.
- Switch from Live View to Playback (usually a button at the bottom of the screen or a calendar icon).
- Select the date from the calendar interface.
- The timeline at the bottom of the screen shows recorded footage in segments — green or coloured bars indicate recorded video. Tap or drag to the time you want to review.
- Press play. You're watching footage from that camera at that time.
If you need to share a specific clip — for police, insurance, or HR purposes — use the app's clip or export function to save a segment to your phone's camera roll, or ask your installer how to export a clip from the NVR directly to a USB drive (which produces a higher-quality file than a phone screen recording).
The whole process, once you know where the controls are, takes under a minute. If it takes longer than that, your installer didn't set up remote access correctly, or the system's interface is poorly designed — both of which are worth raising.